Perfect binding – document set-up guide
Content near the spine
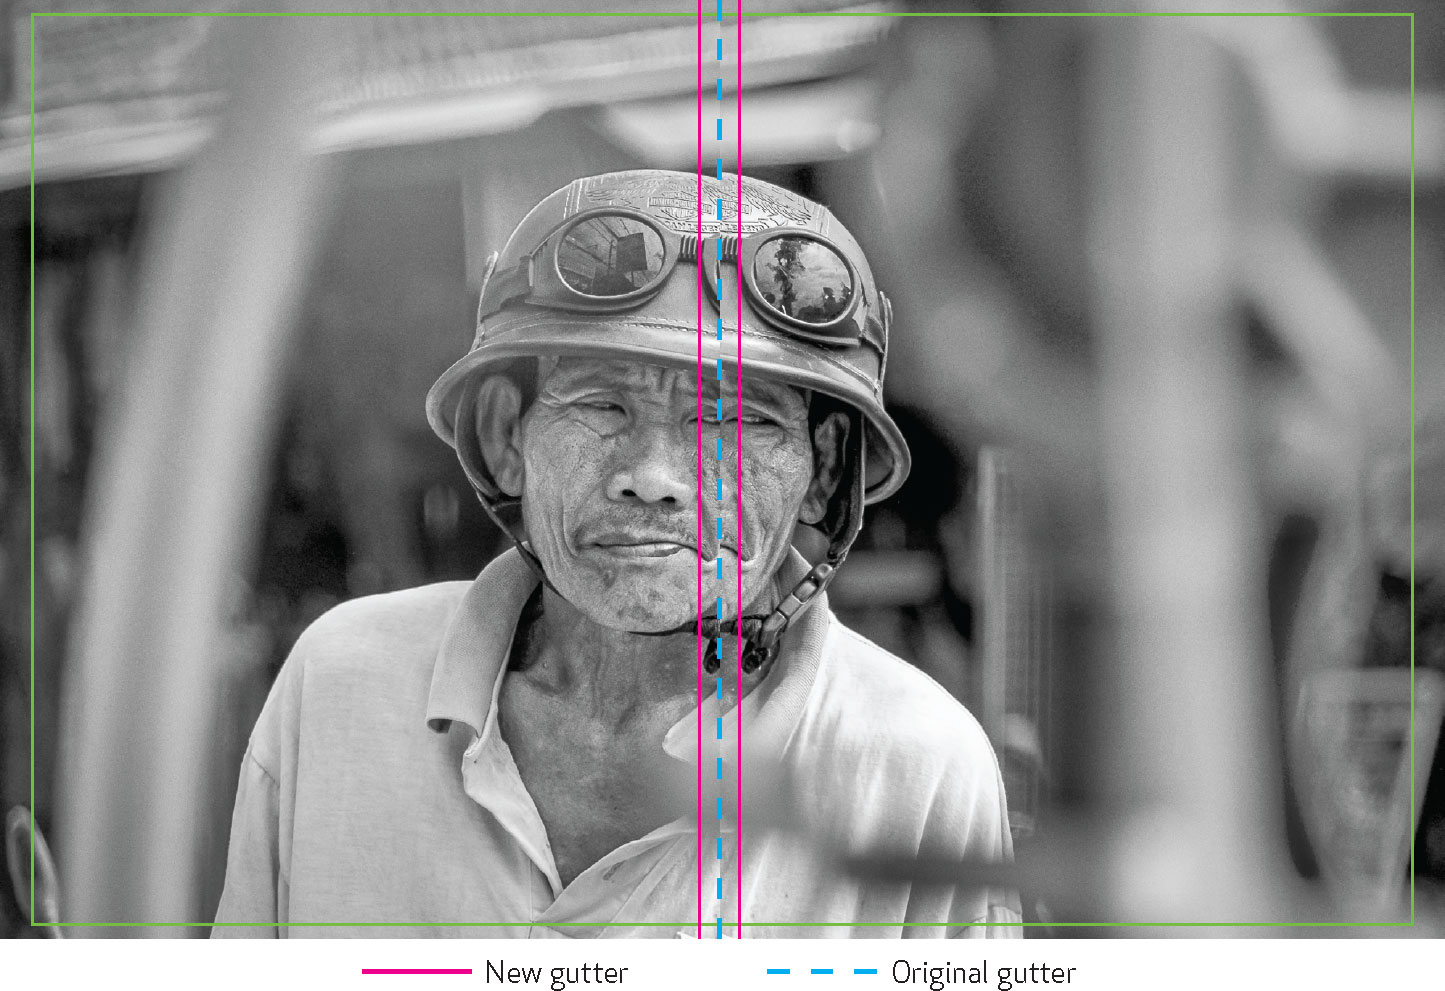
Unlike saddle stitch binding which allows printed pages to lay flat when they are opened, perfect bound publications can’t lay flat, therefore there is an area of the page near the spine that is hidden from view (see illustration below).
To help avoid this, we recommend a 20mm margin, free of any must see content on the binding side of all pages. Keep in mind that anything within this 20mm, also referred to as the gutter, may be lost into the spine in the final print.

Images across a two-page spread
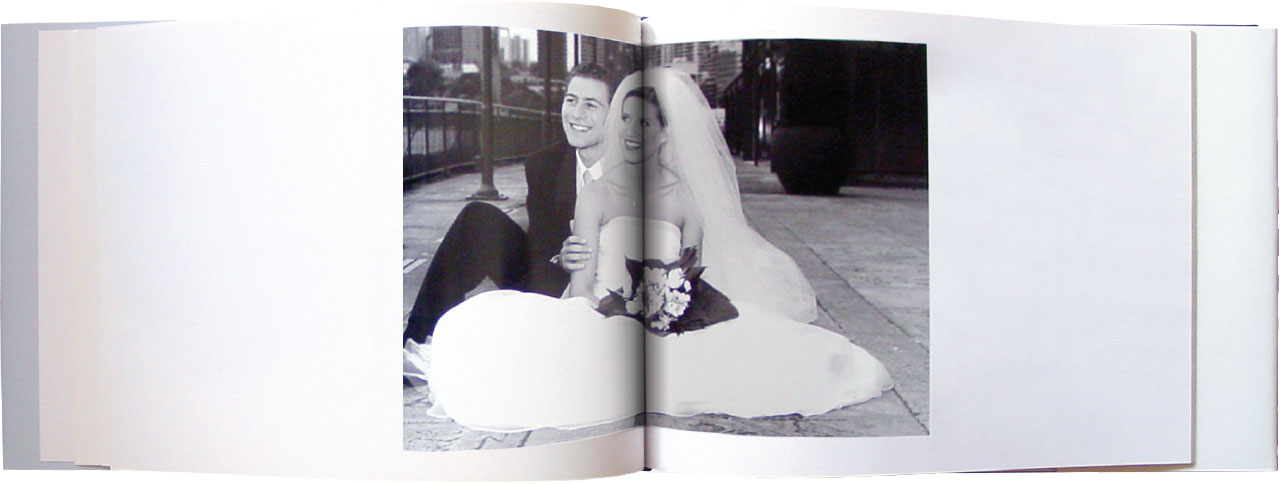
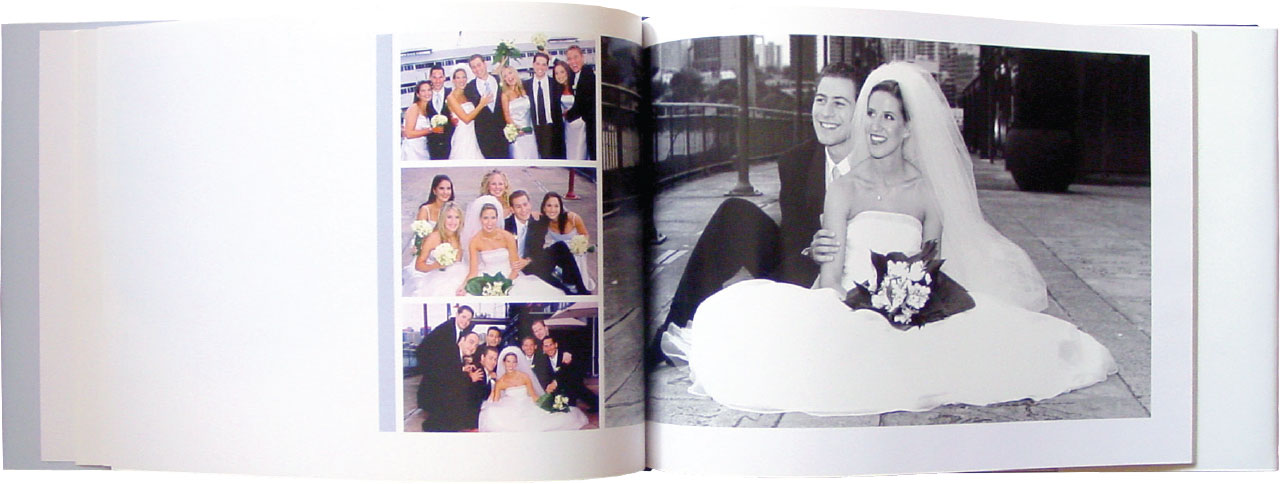
The gutter can be troublesome when you want to place an image across the center spine of your publication. When an image covers two pages, the inside 5mm on both pages will be obscured, which amounts to a 10mm in the center of the image. This is enough to cause a full person to disappear in a larger group photo, or obscure a subject’s nose in a centered portrait. The best way to account for this is to shift the image outward approximately 5mm on both pages so that it is duplicated inside the gutter (see illustration below). Doing so will create the appearance of a continuous image across both pages in spite of the binding.
Adjusting an image across a two page spread in InDesign
Copy the cross-over image. Paste in place so you now have 2 images, one exactly on top of the other. Nudge the top image 5mm to the left then drag the bounding box’s right edge to the center of the spread. Repeat the same process with the bottom image but nudge it 5mm to the right and drag the bounding box’s left edge to the center of the spread.