Applying a Vinyl Decal
Step 1
Clean the application surface and remove any dirt and oils before attaching decal. Measure and mark your application area to determine where the vinyl will go. Make sure that the area is leveled, spaced, and aligned the way you want it.
Step 2
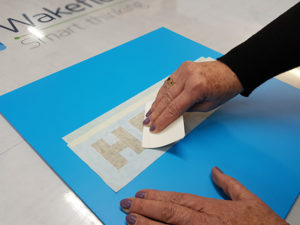
Using a credit card or squeegee, apply medium pressure to the decal surface. The top layer is the transfer tape; it allows you to transfer the vinyl decal to the surface you want to stick it to. The next layer is the vinyl decal itself. The bottom layer is the backing paper, the adhesive underside of the decal rests on this. DO NOT remove any layers yet.
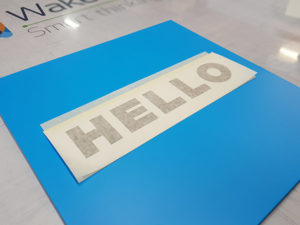
Step 3
Apply a strip of masking tape to the top of the decal. Position the masking tape half way on the transfer tape and half off. The masking tape will be used to secure and position the decal.

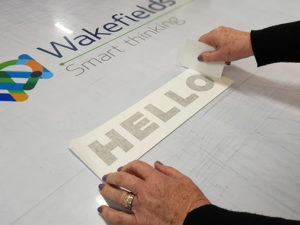
Step 4
Position the decal exactly where you wish to apply it, making sure that the backing side is facing the surface.
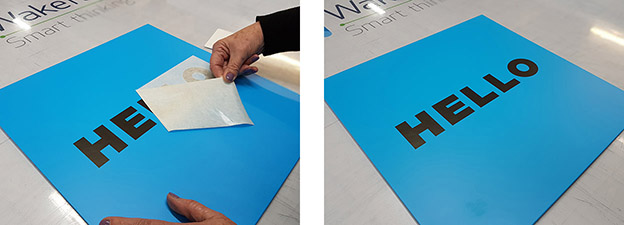
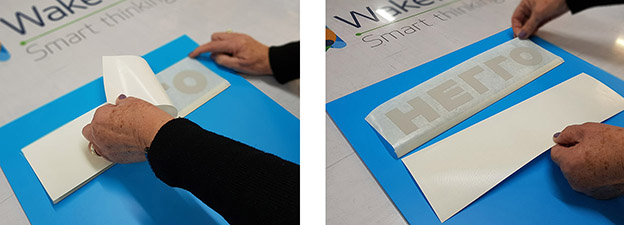
Step 5
Flip up the graphic from the bottom. Remove the backing (NOT the transfer tape) from the vinyl decal, be careful not to let anything touch the now-exposed adhesive surface (if the decal is not attached to the transfer tape gently push it back onto the backing paper and re-squeegee with medium pressure). Discard the backing paper.
Step 6
Carefully flip the graphic back down so that the adhesive side is once again facing the surface. Squeegee the entire decal starting from the top of the decal and evenly squeegee in a downward motion from left to right. Squeegee in the same direction to avoid trapping air bubbles and to allow proper adhesion to the surface.
Step 7
Carefully peel back the transfer tape, pulling at a 45 degree angle. If any of the decal remains stuck to the transfer tape, use the squeegee to press it back into place, then continue peeling off the tape.